Citrix Home Access Fix:
The following instructions will show you how to apply trusted Certificate to your computer (Windows OS)
Once it is downloaded, double click on the file and follow these steps. MAC OS instructions please scroll to the bottom
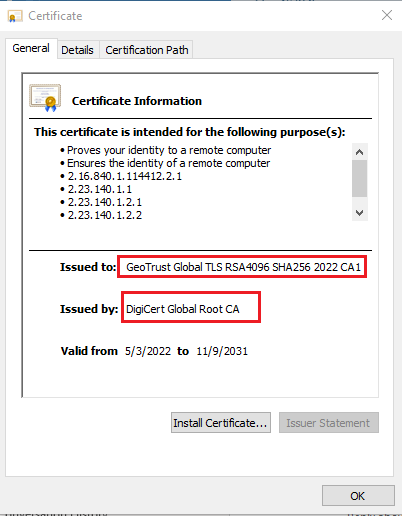
1. Clicking the certificate file should prompt you with the following window. Verify the information is correct.
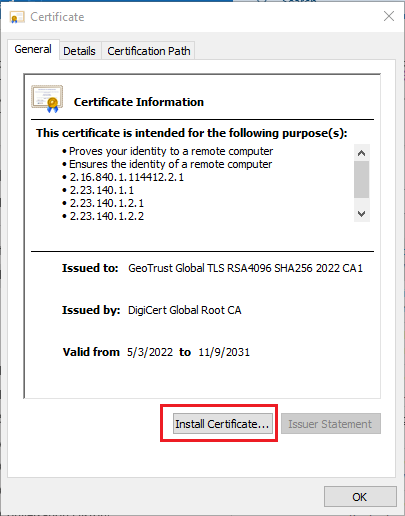
2. Click “Install Certificate…” button.
3. This should open another window “Certificate Import Wizard”. Choose the option “Local Machine”, then click “Next” button.

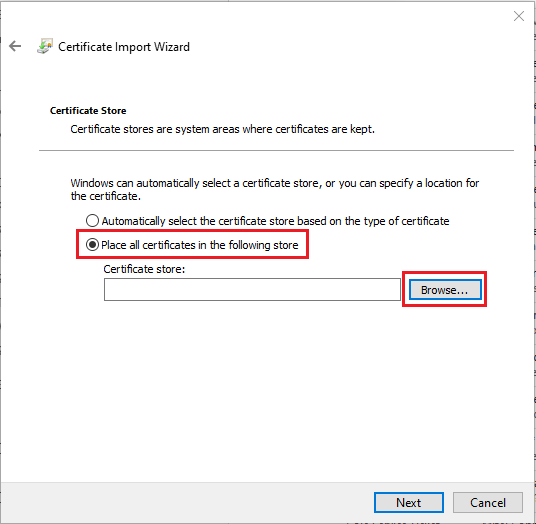
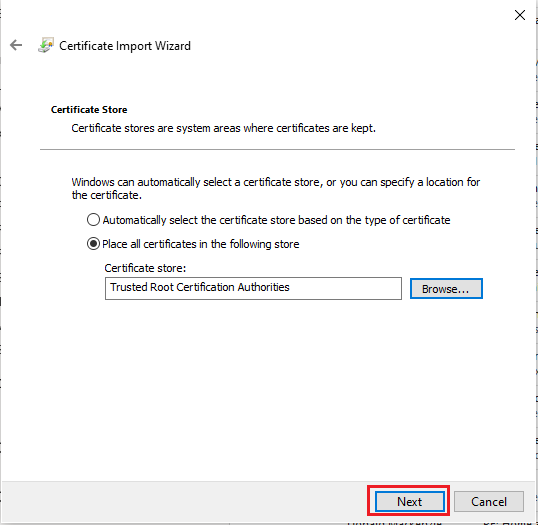
4. This should take you to the next window, click “Place all certificates in the following store”, then click the “Browse” button.
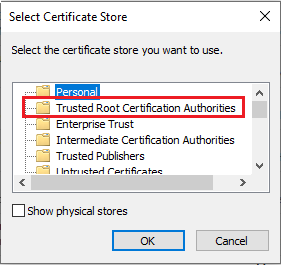
5. This should open a small window “Select Certificate Store”, select “Trusted Root Certificate Authorities”, then click “OK” button.
6. This should take you back to the previous page with the “Certificate Store:” box filled out with “Trusted Root Certificate Authorities”, click the “Next” button
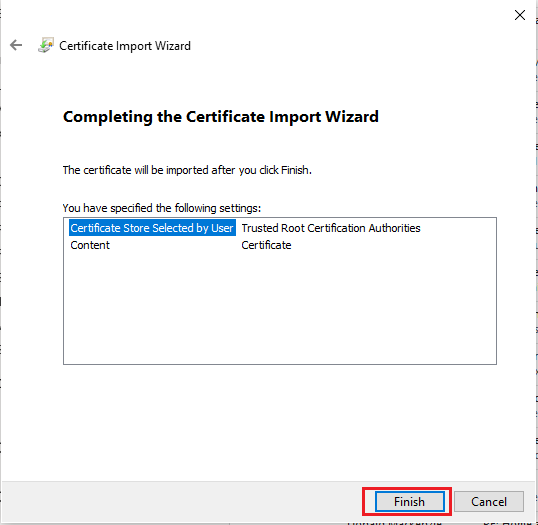
7. This should complete the installation process of the certificate to your computer. You should get the following message window. Click “Finish” to close the window.
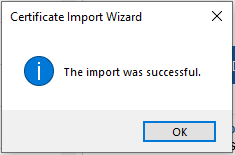
8. You should get the final message, click “OK”.
How to manually install the certificate on MAC OS:
1. Download the certificate file from the link above at the top of the instructions “Please click this link to download the certificate”. (Recommend saving certificate file to your desktop)
2. Navigate to Finder > Applications > Utilities > Keychain Access
3. Select “System” in the left-hand column.
4. Either drag the certificate file into “Keychain Access” window or click “File > Import Items” and import the certificate files into the “System” keychain.
5. The certificate should show with a “red X”. That means it is not trusted. To provide trust, double-click the certificate file that you just imported into the “Keychain Access” window.
6. This should open another window, click arrowhead beside “Trust” to expand, then click the drop-down box beside “When using this certificate:” to “Always Trust”.
7. Click the “Red circle” at the top of the window to close the window, you should be prompted to enter your Keychain password, enter your password.
8. If you have entered in the correct password, you should see the certificate you imported should no longer have the “red X”, you have now completed the import process of a new certificate.